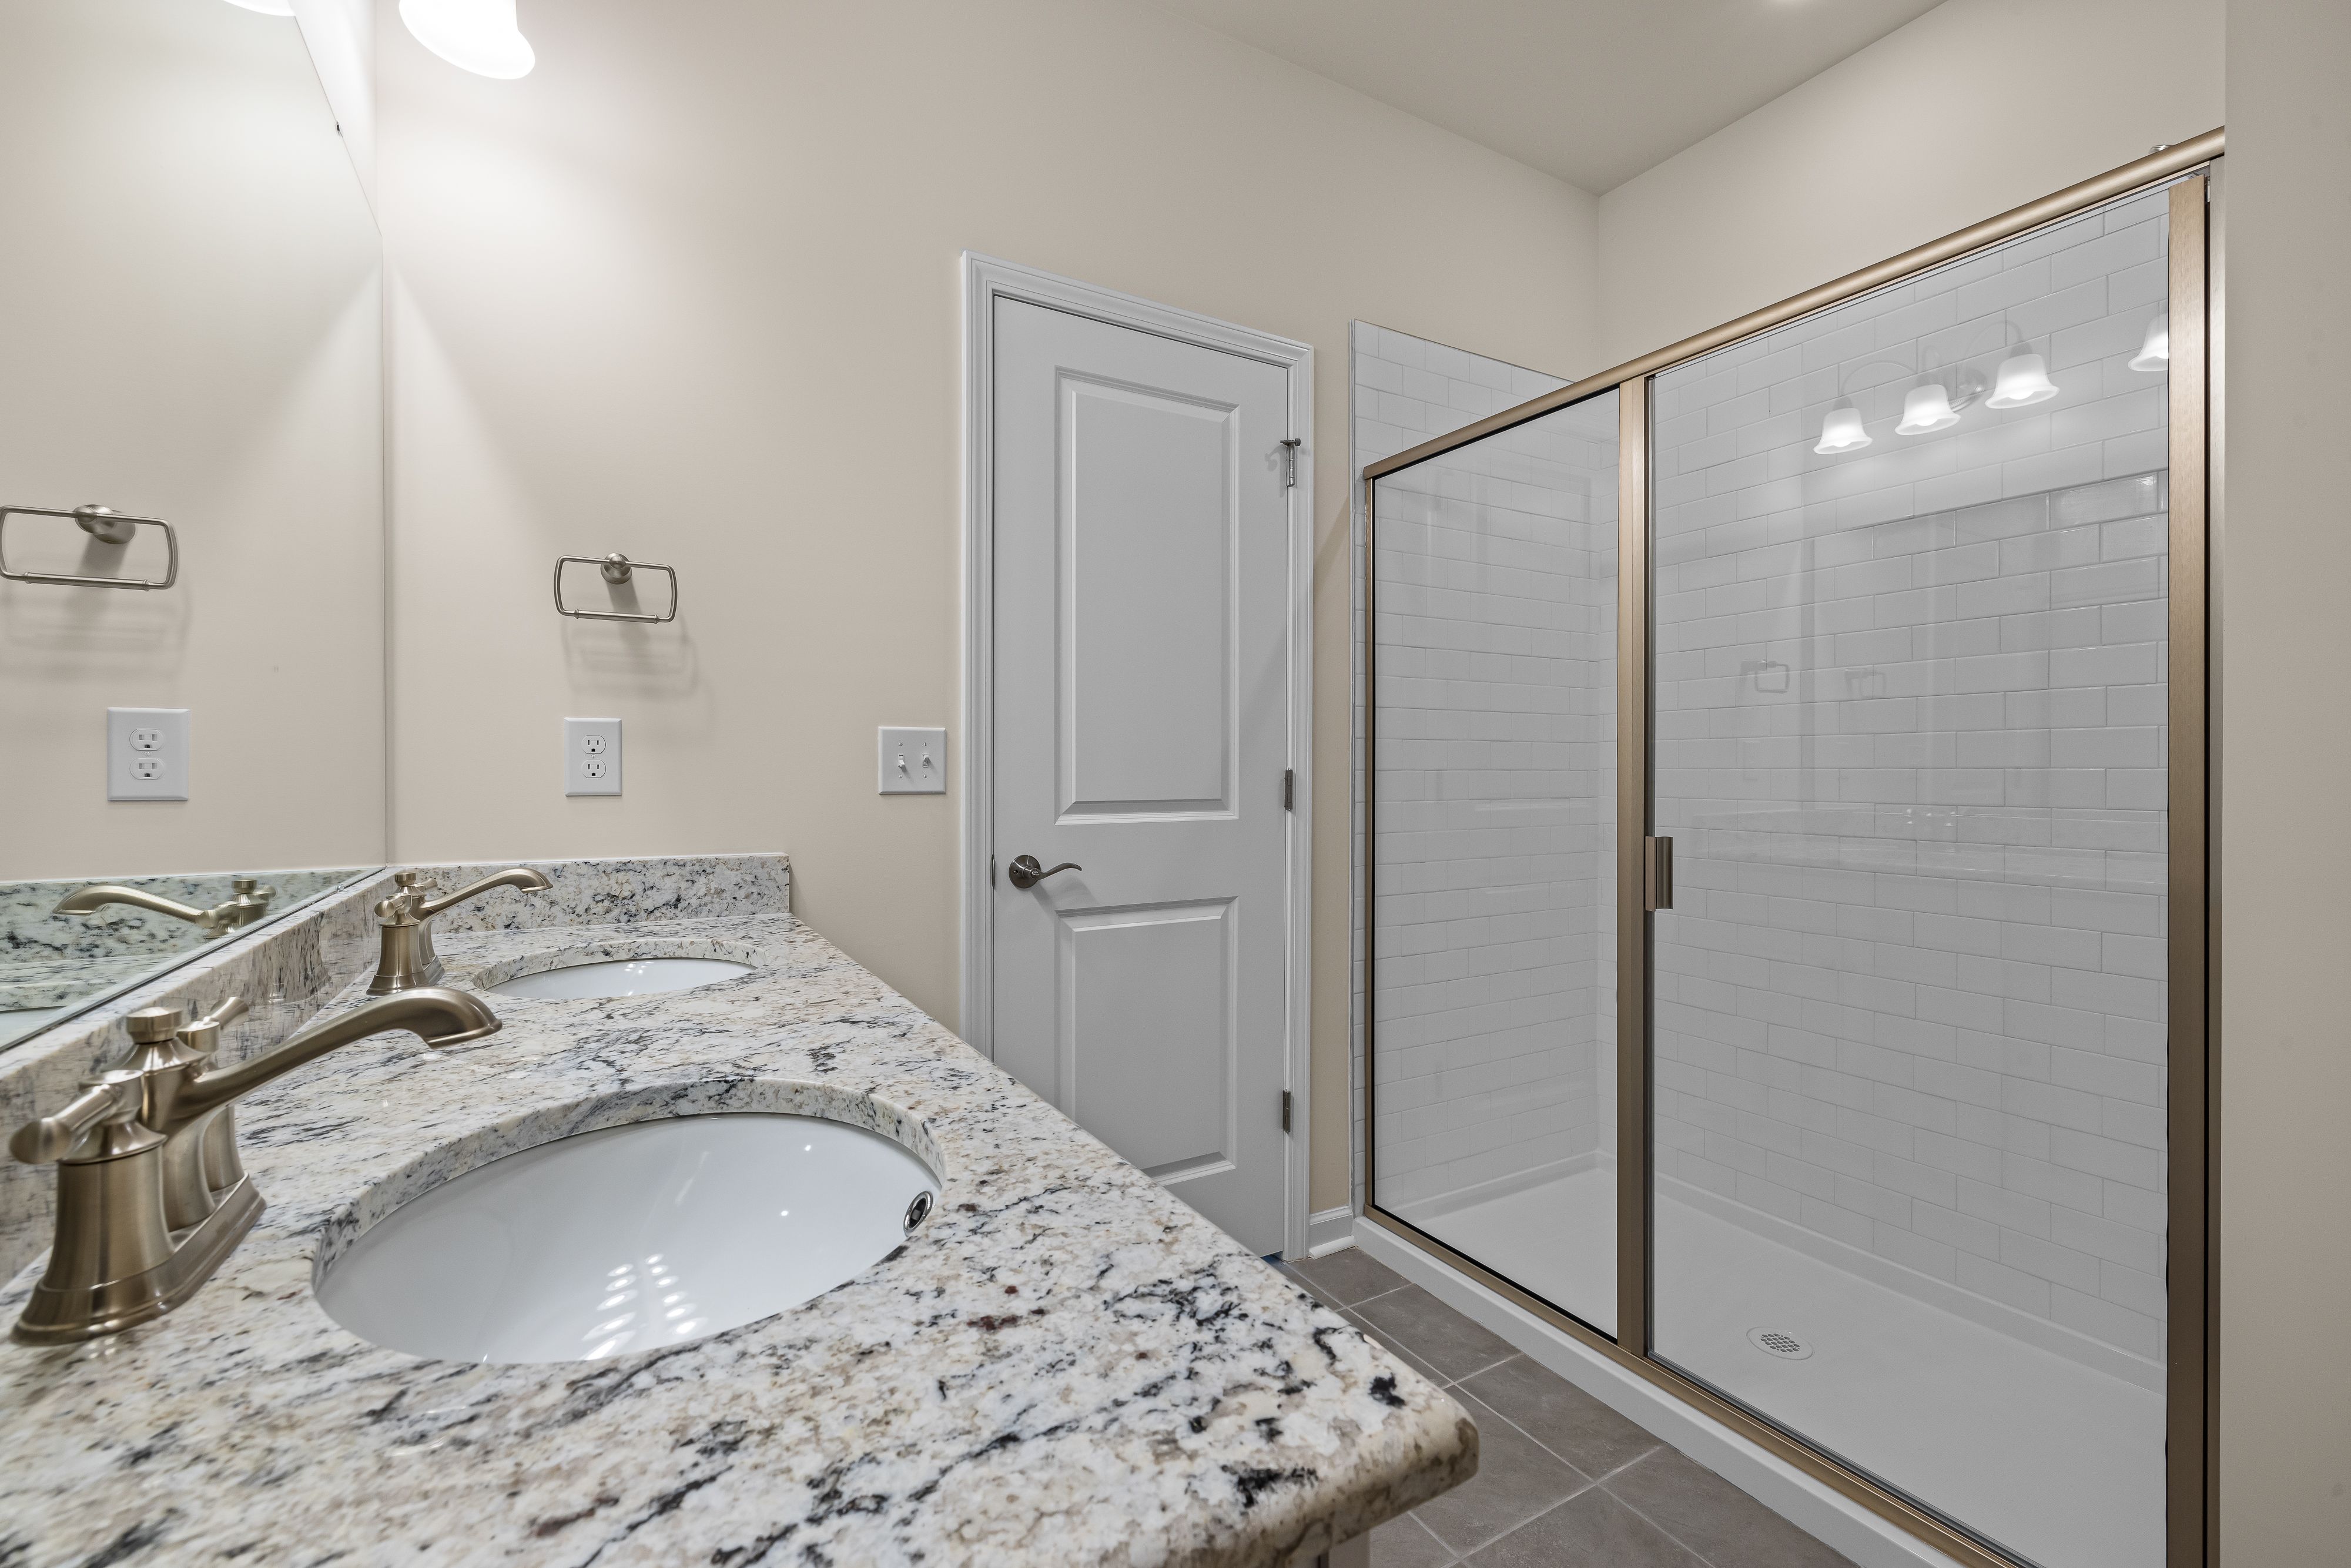
Introduction to DIY Shower Door Installation
Welcome to Rebecca Creek Impressions LLC's comprehensive guide to installing shower doors in your Spring Branch, Texas home. Whether you're renovating your bathroom or just looking for a quick upgrade, installing shower doors can be a rewarding DIY project. This guide will provide you with beginner-friendly instructions, ensuring that you achieve professional results without breaking the bank.
Why Choose Shower Doors Over Curtains?
Before diving into the installation process, let's discuss why shower doors are increasingly preferred by homeowners in 2026:
- Enhanced Aesthetics: Shower doors provide a sleek and modern look, elevating your bathroom's aesthetic appeal.
- Increased Home Value: Potential buyers often view shower doors as a premium feature, adding value to your home.
- Better Water Containment: Unlike curtains, shower doors minimize water spillage, keeping your bathroom floor dry and safe.
- Easy Maintenance: Modern shower doors are designed for easy cleaning, reducing mold and mildew buildup.
Tools and Materials Needed for Installation
Gathering the right tools and materials is crucial for a smooth installation. Here's what you'll need:
- Tools: Drill, level, tape measure, screwdriver, caulking gun, safety goggles, and a rubber mallet.
- Materials: Shower door kit, silicone sealant, wall anchors, and screws.
Ensure you have all these items ready before starting the installation process to avoid unnecessary delays.
Step-by-Step Installation Guide
Step 1: Measure Your Shower Space
Accurate measurements are key to a successful installation. Use a tape measure to determine the width and height of your shower opening. Make sure to measure at the top, middle, and bottom for consistency. Record these measurements and double-check them before purchasing your shower door kit.
Step 2: Prepare the Area
Clear the shower area of any obstacles and clean the surfaces where the door will be installed. This ensures a smooth and secure fit for your shower doors. Make sure the surfaces are dry before proceeding to the next step.
Step 3: Install the Bottom Track
Using the measurements from Step 1, cut the bottom track to fit the width of your shower opening. Secure it in place with silicone sealant along the edges to prevent water leakage. Allow the sealant to dry according to the manufacturer's instructions.
Step 4: Fix the Wall Jambs
Position the wall jambs on each side of the shower opening. Use a level to ensure they are vertically aligned. Mark the drill holes, then drill and insert the wall anchors. Secure the jambs with screws.
Step 5: Attach the Door Panels
Carefully lift the door panels and fit them into the bottom track and wall jambs. Secure the panels according to the manufacturer's instructions, ensuring they are aligned and can slide smoothly.
Step 6: Seal and Finish
Apply silicone sealant along all edges of the doorframe to prevent water leaks. Allow the sealant to cure for at least 24 hours before using the shower to ensure a watertight seal.
Common Mistakes and How to Avoid Them
While installing shower doors is straightforward, there are common pitfalls to avoid:
- Incorrect Measurements: Always double-check your measurements before cutting materials.
- Poor Alignment: Use a level to ensure all parts are aligned correctly to prevent functional issues.
- Insufficient Sealing: Ensure all edges are thoroughly sealed to avoid water damage.
Conclusion: Enjoy Your New Shower Doors
By following this guide, you'll have successfully installed your shower doors, enhancing both the functionality and appearance of your bathroom. At Rebecca Creek Impressions LLC, we are committed to helping Spring Branch homeowners achieve their renovation goals with ease. For professional assistance or to explore our range of shower door options, visit our website or contact us today.
For more information and tips on maintaining your shower doors, be sure to check out our upcoming blogs. Happy renovating!